
How to Preserve Your Harvest: A UK Guide to Freezing, Pickling, Fermenting, and More
As an Amazon Associate I earn from qualifying purchases and sometimes recommend products from other sellers at no extra cost you. For more details see my disclosure policy and privacy policy.
Every autumn I reach the same point. The courgettes have gone rogue, the tomatoes have all ripened at once, and the fridge is genuinely full. For years I dealt with this by giving bags of vegetables away to neighbours — grateful for the generosity, probably, but slightly baffled about what to do with the seventh courgette that week.
Learning to preserve food properly changed my relationship with growing. It turned a glut into a resource. It also cut a meaningful chunk off our food bill — when I’m pulling jars of pickled beetroot, frozen heritage tomato sauce, and dried herb blends out of the larder through winter, those are ingredients I’m not buying. For a UK household where food costs have risen sharply over the last few years, that matters.
This guide covers every practical preservation method that works in a home kitchen, with honest advice about what’s actually worth the effort — and what I’ve quietly stopped doing.
Why Preserving Your Harvest is One of the Most Sustainable Things You Can Do
Before we get into the how, it’s worth understanding the why — because this isn’t just about saving money (though it does that). Around 9.5 million tonnes of food is wasted in the UK every year, according to WRAP, and a significant portion of that comes from households: fruit and vegetables going soft in the fridge, herbs wilting before they’re used, seasonal gluts that exceed what any family can eat fresh.
Free download
Get the Non‑Toxic Home Audit Checklist
A room‑by‑room checklist to help you spot what’s worth swapping in your home — and what’s not worth worrying about. Join the fortnightly newsletter and it’s yours.
No spam, unsubscribe any time.
Preservation is the oldest solution to this problem. Every traditional food culture on earth developed ways to extend the life of a harvest — because for most of human history, the alternative was going hungry. We’ve largely lost that skill set in the UK, but it’s not complicated to rebuild it.
The environmental case is simple: food that’s preserved rather than binned doesn’t produce methane in landfill, doesn’t require replacement purchases to be grown and transported, and doesn’t go through additional industrial processing. If you’re already growing your own vegetables — even just a few pots of herbs on a windowsill — knowing how to preserve them closes the loop.
Method 1: Freezing — The Fastest Way to Lock in Freshness
Freezing is where I’d tell anyone to start. It requires almost no specialist equipment, works reliably for most vegetables and fruits, and genuinely locks in nutritional value if you do it right.
The key step most people skip: blanching
Raw vegetables thrown straight into the freezer tend to turn mushy and lose flavour — this is because the enzymes that cause decay are still active, even at freezing temperatures. Blanching (briefly boiling, then plunging into cold water) halts enzyme activity and preserves colour, texture, and nutrients.
The process: bring a large pan of water to a rolling boil. Add your prepared vegetables — runner beans, peas, broad beans, courgette slices, broccoli florets — for 1–3 minutes depending on the vegetable. Immediately transfer to a bowl of ice-cold water, leave for the same amount of time, drain well, and freeze in a single layer on a tray before bagging. The single-layer freeze stops everything clumping together.
What freezes well from a UK garden:
- Runner beans, French beans, broad beans (blanch first)
- Peas — ideally frozen within hours of picking, when the sugars are still at their best
- Courgettes — better if you grate and squeeze out moisture first; useful in baking through winter
- Tomatoes — freeze whole and the skins slip off when defrosted; ideal for sauces
- Soft fruits: raspberries, blackcurrants, gooseberries freeze beautifully and are expensive to buy in winter
- Fresh herbs: chop, pack into ice cube trays with a little water, and freeze into herb cubes
Storage tip: Label everything with the date and contents — frozen vegetables look remarkably similar after a few months. Most blanched vegetables will keep well for 10–12 months; soft fruit for 6–8 months.
On packaging: I’ve moved away from single-use freezer bags and use reusable silicone bags for most things. They’re a higher upfront cost but last for years. For liquid-based things (soups, sauces), I use straight-sided glass jars — leave a 2cm headspace to allow for expansion.
Method 2: Pickling — Sharp, Satisfying, and Genuinely Foolproof
Pickling has a reputation for being fiddly, but the basics are extremely simple. There are two types worth knowing about: quick pickling (refrigerator pickles, ready in 24 hours) and traditional water-bath canning (shelf stable for a year or more).
Quick pickling
This is the one I use most. Prepare a brine — roughly one part white wine vinegar or cider vinegar to one part water, with a teaspoon of salt and a teaspoon of sugar per 250ml — bring it to a simmer until the salt and sugar dissolve, then pour over your prepared vegetables in clean jars. Seal, leave to cool, and refrigerate. Ready the next day; keeps for 4–6 weeks in the fridge.
Quick-pickled cucumber, red onion, and radishes are the ones I make constantly. They transform simple meals — a grain bowl, some flatbreads, cold leftover chicken — into something with genuine acidity and crunch. Pickled green tomatoes are also an excellent use of the unripe tomatoes that didn’t make it before the first frost.
Traditional pickling (shelf-stable)
For long-term pantry storage, you need a higher-acid brine (usually neat pickling vinegar or a brine of at least 5% acidity) and either sterilised jars sealed with new lids, or water-bath processing. The UK is unusual in that our traditional pickling method often just uses neat malt vinegar — the high acidity acts as the preservative. Pickled beetroot, pickled onions, and chutney all work this way.
My chutney recipe is genuinely one of the most cost-effective things I make. A big batch in October uses up windfall apples, green tomatoes, and any other end-of-season vegetables, costs almost nothing beyond the vinegar and sugar, and keeps for a year — and makes excellent Christmas gifts.
Method 3: Fermentation — Slow, Cheap, and Worth It
Fermentation is the method that intimidated me most before I tried it, and the one I now find most satisfying. The principle is straightforward: create the right conditions for beneficial bacteria (primarily lactobacillus) to thrive, which acidifies the food and prevents harmful microbes from growing. Salt is the key tool — it creates an environment where the good bacteria flourish while the bad bacteria can’t.
Lacto-fermentation: where to start
The most accessible introduction is simple sauerkraut. You need: a medium-sized white or red cabbage, 2% of its weight in non-iodised salt (iodine inhibits fermentation), and a clean jar. Shred the cabbage finely, weigh it, calculate 2% of that weight in salt, mix well and squeeze firmly until the cabbage releases liquid. Pack tightly into a jar, pressing down until the liquid rises above the cabbage. Keep submerged with a weight (a small bag of water works), cover loosely, and leave at room temperature for 5–14 days depending on how sour you like it. Taste as you go.
That’s it. No special equipment, no starter cultures, no cost beyond the cabbage and salt.
Other vegetables that ferment well:
- Kimchi — a spiced Korean ferment; versions made with white cabbage and whatever you have work fine
- Fermented cucumber (closer to a traditional dill pickle than a vinegar pickle, with far more depth of flavour)
- Carrot sticks with garlic and dill
- Green tomatoes — an excellent use for the unripe stragglers at the end of the season
Health considerations: Fermented foods are rich in live cultures. The NHS notes that a diet containing diverse plant foods and fermented foods supports gut microbiome diversity. I wouldn’t make any clinical claims about specific health outcomes, but eating more fermented food is almost certainly not going to harm anyone.
Storage: Once you’re happy with the sourness, move the jar to the fridge. This dramatically slows fermentation. Most lacto-fermented vegetables keep refrigerated for several months.
Method 4: Dehydrating — Concentrated Flavour, Tiny Storage Footprint
Drying removes moisture, which removes the environment bacteria, mould, and yeast need to grow. The result is shelf-stable, lightweight, and often more intensely flavoured than the fresh ingredient.
Without a dehydrator
You don’t need specialist equipment for most herbs and some fruits. Tie small bundles of herbs (rosemary, thyme, sage, oregano — woody herbs all work well) and hang them in a warm, well-ventilated spot out of direct sunlight. A south-facing windowsill is too direct; an airing cupboard or warm kitchen corner is ideal. They’ll be dry and ready to crumble in 1–2 weeks.
Slice mushrooms thinly and dry them on a wire rack over a low oven (50–60°C with the door slightly ajar) for 6–8 hours. The result is deeply umami and much more useful than fresh in winter soups and stews.
Chillies can be strung on thread and hung to dry in a few weeks if your kitchen is warm enough — or dried in the oven using the same low-temperature method.
With a dehydrator
A mid-range electric dehydrator (around £40–80 from UK kitchen retailers) opens up more options: apple rings, strawberries, tomatoes (dehydrated cherry tomatoes are extraordinary — intensely sweet and keep for months), root vegetable crisps, and dried citrus peel. If you grow a lot of fruit and vegetables, it pays for itself relatively quickly.
Dried herb blends are one of my most-used pantry staples. A jar of my own dried herbs feels significantly better than the faded, vaguely dusty jars from the supermarket — and costs almost nothing if you’re already growing them.
Method 5: Bottling (Jam, Jelly, and Cordial)
High-sugar preserves are the most traditional British form of preservation, and the easiest to share and give as gifts. The sugar concentration and acidity together create a shelf-stable product — no water-bath canning required for most British jams, as long as you sterilise your jars properly and get the set right.
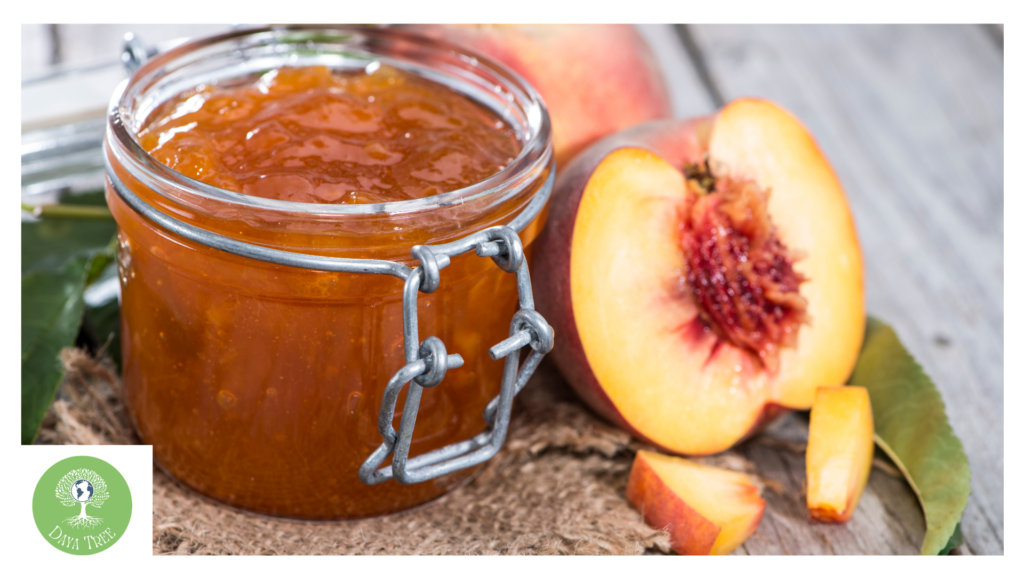
Sterilising jars properly: Wash jars and lids in hot soapy water, rinse, then place in an oven at 140°C for 15 minutes. Fill while still hot.
A few reliable staples:
- Blackcurrant jam — among the easiest, as blackcurrants have very high natural pectin
- Strawberry jam — the classic, though you often need to add pectin or lemon juice to achieve a firm set
- Elderflower cordial — made in June from foraged elderflower heads, this is one of the most distinctively British things you can make; a guide to foraging elderflower is worth reading before you go out
- Sloe gin — technically not a preserve but uses the same principle; sloes in October, two months’ patience, and you have a seasonal bottle worth giving
Pectin note: Many UK recipe books still use jam sugar (which contains pectin) as a shortcut. If you’re using regular sugar, fruits like blackcurrants, redcurrants, gooseberries, and cooking apples have enough natural pectin to set without additions. Strawberries, cherries, and elderberries benefit from added lemon juice or a little cooking apple stirred in.
A Note on Cost-Effectiveness
People sometimes assume preservation is expensive or time-consuming relative to just buying things. I’ve found the opposite, particularly for:
- Runner beans and courgettes: both extremely cheap per seed or plant, both produce vastly more than a family can eat fresh in season; preserved, they represent almost free vegetables through winter
- Soft fruit: raspberries and blackcurrants cost £3–5 per 200g punnet in the supermarket in winter; a single established bush can produce several kilograms, all of which can be frozen on picking day
- Herbs: a pot of fresh supermarket basil lasts a week at best; dried, a summer harvest of basil lasts all year
The equipment investment is also genuinely low. You can start preserving with nothing more than jars you’ve saved from bought products, a large pot, and salt. A good dehydrator, vacuum sealer, or preserving pan come later — if you decide you want them.
Linking It All Together: The Preservation Calendar
One of the things I find most satisfying about preservation is that it follows the British seasonal calendar naturally. Once you have a sense of what’s in season when — and if you’re growing your own, you’ll know this from your own plot — you can build a simple preservation rhythm.
- May–June: Elderflower cordial; first herb harvests; peas if you’re growing them early
- July–August: Soft fruit (freeze, jam); courgette glut (freeze, pickle, ferment); runner beans (blanch and freeze)
- September–October: Tomato season (sauces, freeze whole, dry); apple glut (chutney, dried rings, juice); foraged sloes and elderberries; green tomatoes (pickle, ferment)
- November–December: Use preserved stores; make gifts from what you’ve made
This connects naturally to foraging too — if you’re out looking for what to pick in autumn hedgerows, you’re also gathering things that can be preserved: sloe gin, elder berry cordial, rosehip syrup, dried mushrooms.
Getting Started: What to Do This Week
You don’t need to master all of this at once. Start with one method that suits what you have available right now.
If you have herbs: tie a bundle and hang them to dry. If you have a glut of anything from the garden, freeze a portion of it today before it goes over. If you’ve never fermented before, buy one cabbage, make sauerkraut, and see what you think in two weeks.
The instinct that tells you a jar of something you preserved yourself is more satisfying than the same thing bought in a plastic tray — that instinct is correct. It takes a few tries to build the confidence, but once you have it, it becomes one of those quiet habits that runs through the whole year.
Nikki Piggott grows vegetables and writes about sustainable living from the UK. She’s been gardening, preserving, and making things from scratch for the past decade — with plenty of failures along the way.
More from Daya Tree: