Preserving the Harvest: Freezing, Pickling, and Fermentation Basics
As an Amazon Associate I earn from qualifying purchases and sometimes recommend products from other sellers at no extra cost you. For more details see my disclosure policy and privacy policy.
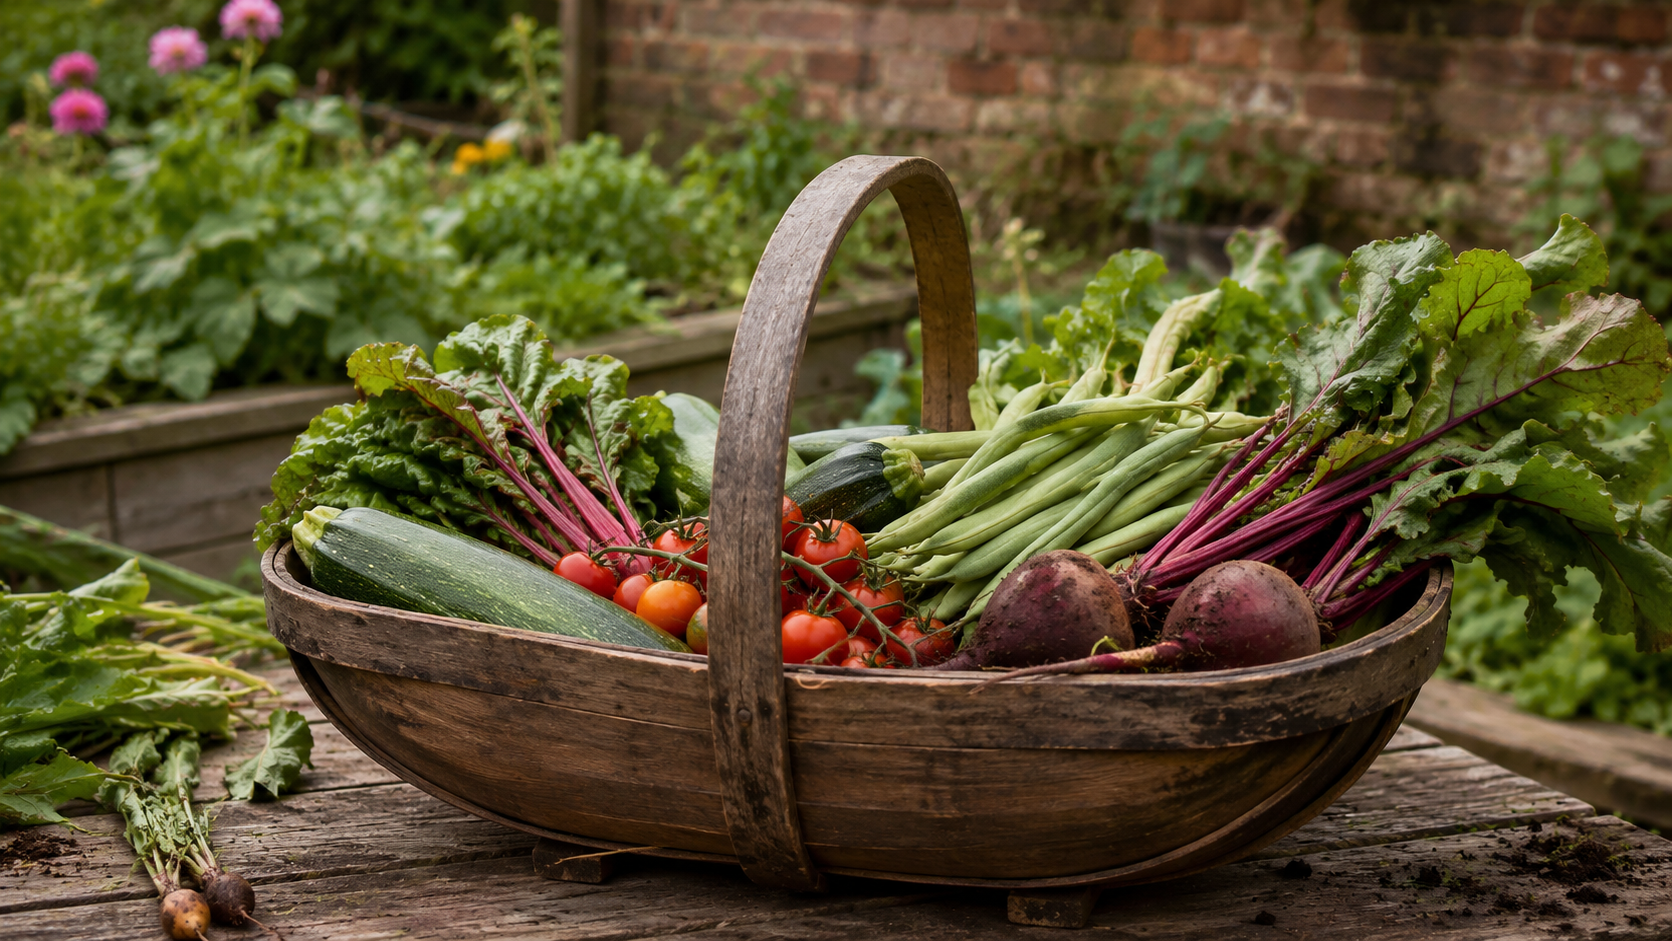
Every August I have the same problem: three courgette plants that have decided, apparently in unison, that this is the week. A glut is a wonderful thing right up until it isn’t — and the difference between a productive vegetable patch and a compost bin full of guilt usually comes down to what you do with the harvest in the 48 hours after you pick it.
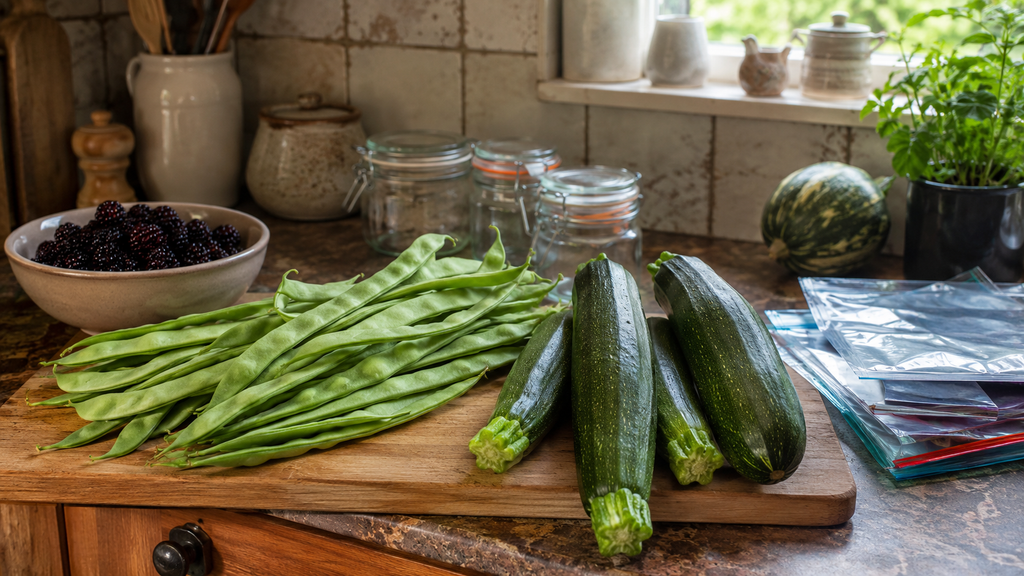
This is the practical end of growing your own on a budget. It’s one thing to grow ten kilos of tomatoes for the price of a seed packet; it’s another to still be eating them in February. Freezing, pickling, and fermentation are the three methods that will get you there, and none of them need special equipment, a huge amount of time, or a kitchen the size of a farmhouse.
Preserving your harvest properly can turn a few pounds of seeds into months of free food — but only if you know which method suits which crop, because the wrong one wastes both the produce and your time.
Why Bother Preserving at All?
If you’ve read our guide to growing food on a UK budget, you’ll know the financial case for growing your own is strong even before you factor in preserving. Add preserving into the mix and the maths gets considerably better — a single row of runner beans, frozen in batches through July and August, can realistically replace £15–20 of supermarket veg over a winter.
Free download
Get the Non‑Toxic Home Audit Checklist
A room‑by‑room checklist to help you spot what’s worth swapping in your home — and what’s not worth worrying about. Join the fortnightly newsletter and it’s yours.
No spam, unsubscribe any time.
There’s a seasonal-eating case too. UK supermarkets sell strawberries in December, but they’re flown in and taste like nothing. A jar of strawberry jam made in June, or a bag of frozen ones for smoothies, tastes like an actual British summer in the middle of a grey January.
Freezing: The Fastest, Most Forgiving Method
Freezing is where I’d tell any beginner to start. It requires the least skill, the least equipment, and it’s the most forgiving if you get something slightly wrong — a badly frozen bag of beans is still edible; a badly fermented jar is a genuine food safety question.
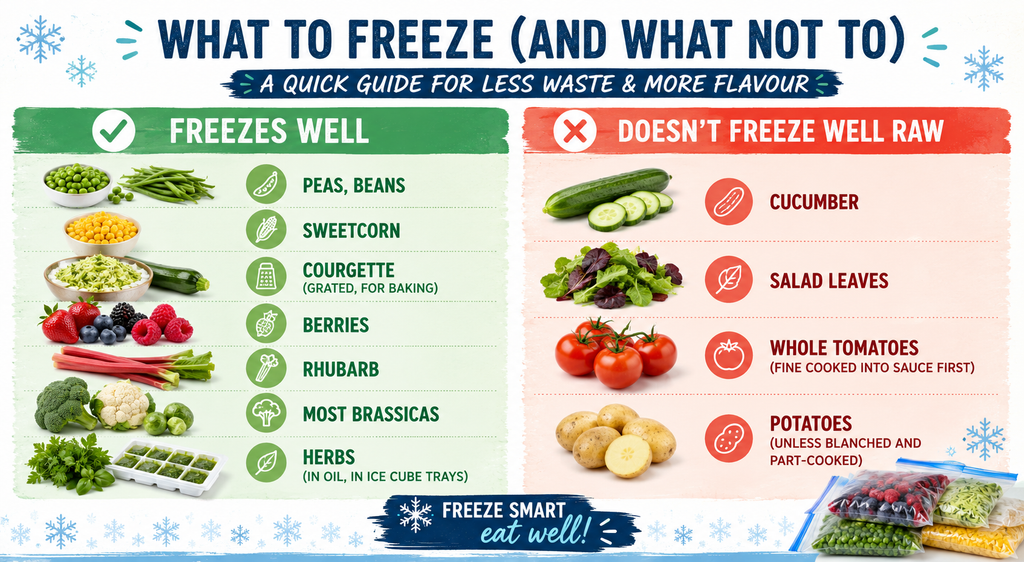
What Freezes Well (and What Doesn’t)
Not everything survives the freezer with its texture intact. High-water vegetables like cucumber, lettuce, and raw tomatoes turn to mush on defrosting — fine if you’re making them into soup or sauce, useless if you wanted a salad.
Blanching Basics
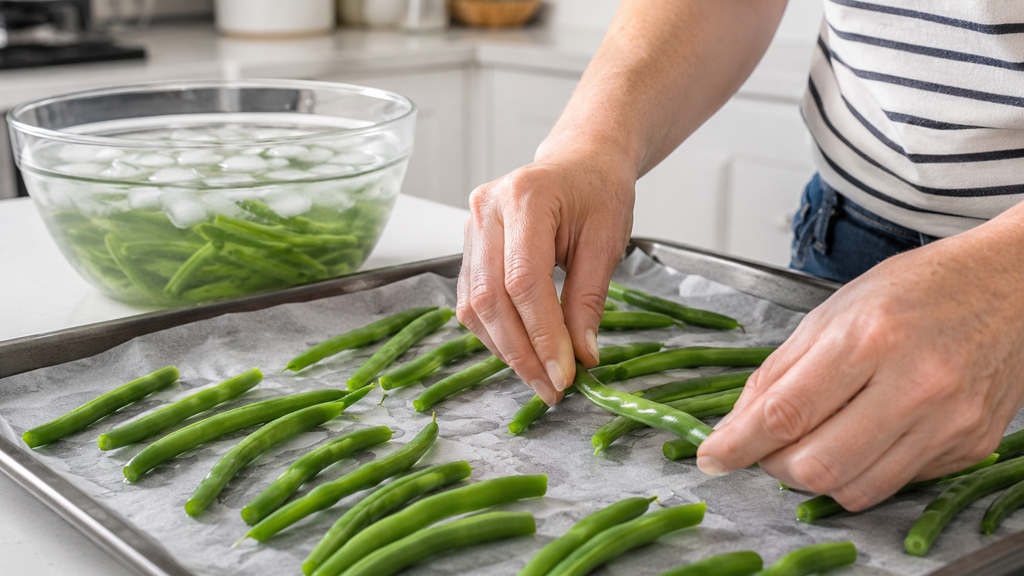
Blanching — a quick dunk in boiling water followed by an ice bath — stops the enzyme activity that would otherwise turn your vegetables grey and flavourless in the freezer over a few months. It sounds fussier than it is:
- Boil a large pan of water.
- Drop in the vegetables for 1–3 minutes depending on size (fine green beans need less time than whole broad beans).
- Immediately transfer to a bowl of ice water to stop the cooking.
- Drain thoroughly, pat dry, and freeze flat on a tray before bagging — this stops everything freezing into one solid block.
My Freezing Routine
I keep a stack of reusable freezer bags by the back door through the growing season, and I’ve stopped trying to freeze “properly planned” batches — instead I freeze little and often, the moment something’s picked. A handful of beans here, a punnet of raspberries there. By October the freezer is a patchwork of small bags rather than one intimidating glut, and that’s exactly how I want it for actually using them.
Pickling: Quick Wins for a Glut
Pickling is where preserving starts to feel like a proper kitchen skill, but a basic vinegar pickle is genuinely one of the simplest recipes there is.
Quick Pickles vs “Proper” Preserving
There’s a useful distinction here that a lot of guides skip over. A quick pickle (sometimes called a refrigerator pickle) is vegetables in a vinegar brine, kept in the fridge, and eaten within a few weeks. It needs no special equipment and no sterilising know-how.
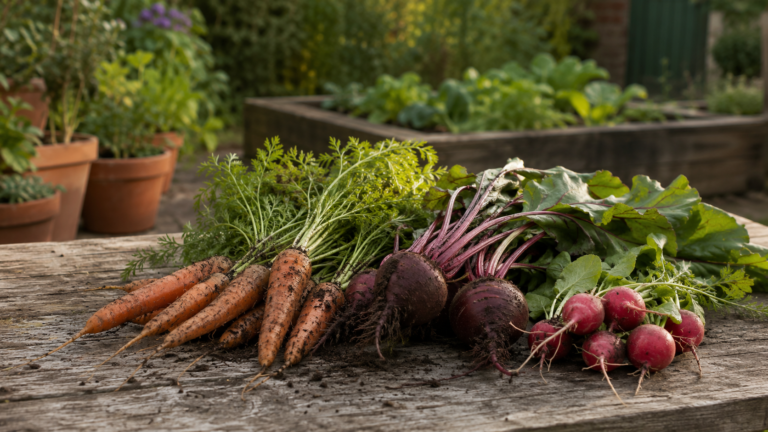
A shelf-stable pickle, the kind you’d store in a cupboard for a year, needs proper sterilised jars and a brine with the correct acidity to be safe at room temperature. If you’re new to pickling, start with quick pickles — they’re near-impossible to get wrong and you’ll still use up a genuine glut of cucumbers, radishes, or beetroot.
A Simple UK Pickle Brine Ratio
A reliable starting ratio for a quick pickle is:
- 1 part white wine vinegar or cider vinegar
- 1 part water
- 1 tablespoon sugar and 1 tablespoon salt per 250ml of liquid
- Whatever you like added: mustard seed, peppercorns, a bay leaf, a sliced chilli
Heat gently until the sugar and salt dissolve, pour over your sliced vegetables in a clean jar, and let it cool before refrigerating. Radishes are ready in a few hours; beetroot and cucumber are better after a day or two.
Fermentation: The Low-Cost, High-Reward Method
Fermentation is the one that puts people off, and I understand why — “leave vegetables in salt water for a week” sounds like a health hazard rather than a technique that’s been used safely for thousands of years. In practice it’s one of the cheapest preserving methods going, because it needs nothing but salt, water, and time.
Getting Started with Fermentation
The easiest entry point is a basic sauerkraut or a simple fermented vegetable mix (cabbage, carrot, and a bit of ginger works well for a UK autumn glut):
- Shred your vegetables and weigh them.
- Add salt at roughly 2% of the vegetable weight and massage it in until liquid is released.
- Pack tightly into a clean jar, pushing the vegetables under their own liquid.
- Weigh them down (a smaller jar or a clean stone works) so nothing floats above the brine.
- Leave at room temperature, out of direct sun, for 5–10 days, tasting after day 5.
Safety Basics
The salt does the safety work here — it favours the beneficial bacteria that ferment the vegetables and discourages the ones that spoil them. The two things to actually watch for: make sure everything stays submerged under the brine (anything exposed to air can grow mould), and trust your nose — a ferment that smells sour and pleasant is working; anything that smells genuinely rotten should be binned, not risked.
A good ferment should smell tangy and appetising, never off — when in doubt, throw it out rather than second-guessing a bad smell.
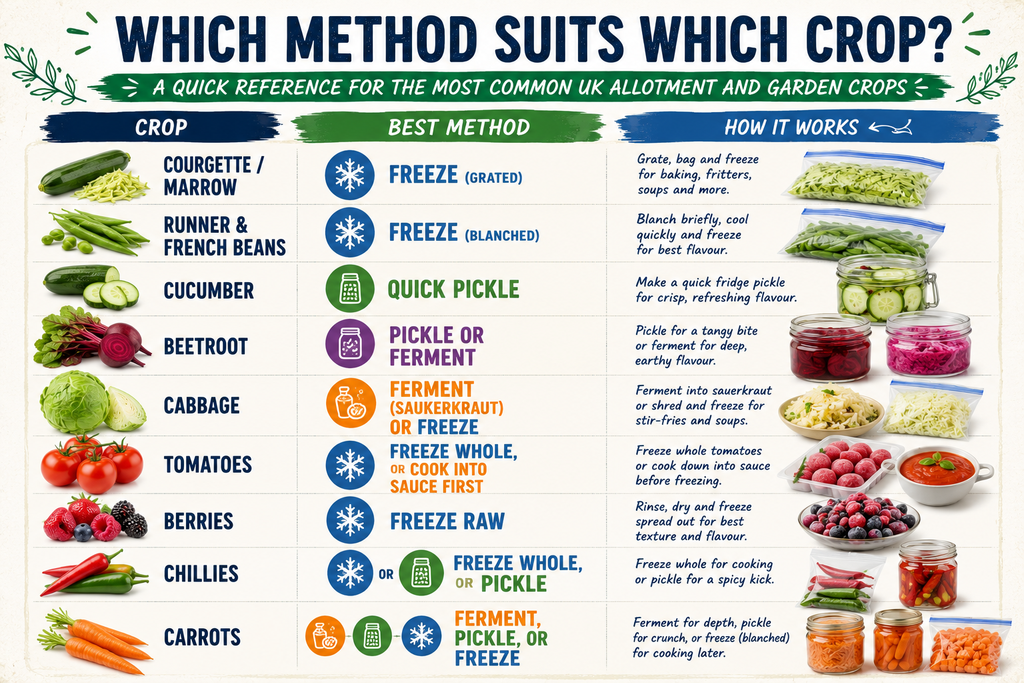
Which Method Suits Which Crop?
Where to Store Everything
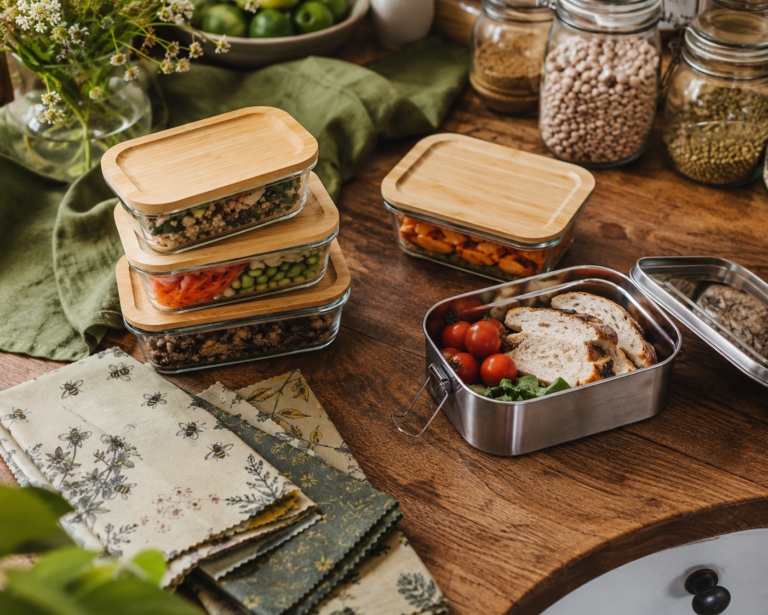
A chest freezer isn’t essential, but if preserving is becoming a regular part of your growing year, it’s worth the investment — it’s usually cheaper to run than an upright freezer and gives you far more capacity for flat-frozen bags. For fridge pickles and ferments, a shelf dedicated to jars keeps things visible, which in my experience is the single biggest factor in whether they actually get eaten rather than forgotten at the back for a year. Our guide on safer food storage options covers glass jar and container choices in more detail if you’re moving away from plastic tubs.
Final Thoughts
None of these three methods need much money or much space — a freezer drawer, a few jars, and some salt will see you through most of a British growing season’s glut. Start with freezing if you’re nervous, add pickling once you’ve got a rhythm, and try fermentation when you want to stop buying sauerkraut. The vegetables you grow for a couple of pounds a packet are worth the extra hour it takes to make sure you’re still eating them in the depths of winter.
If you’re building out a growing year around this kind of thing, our guide to foraging in the UK by season pairs well with a preserving habit — elderberries, sloes, and blackberries all lend themselves to exactly the same freezing and pickling methods above.