Starting Seeds Indoors: The Cheapest Way to Get a Full Growing Season
As an Amazon Associate I earn from qualifying purchases and sometimes recommend products from other sellers at no extra cost you. For more details see my disclosure policy and privacy policy.
If you’ve ever stood in a garden centre in April staring at a tray of six tomato plants for £8.99, you already know the maths doesn’t work. A packet of the same variety costs about the same and gives you forty seeds, not six. Starting seeds indoors is, hands down, the cheapest way to get a full growing season out of a UK garden — and it’s a lot less fiddly than it looks.
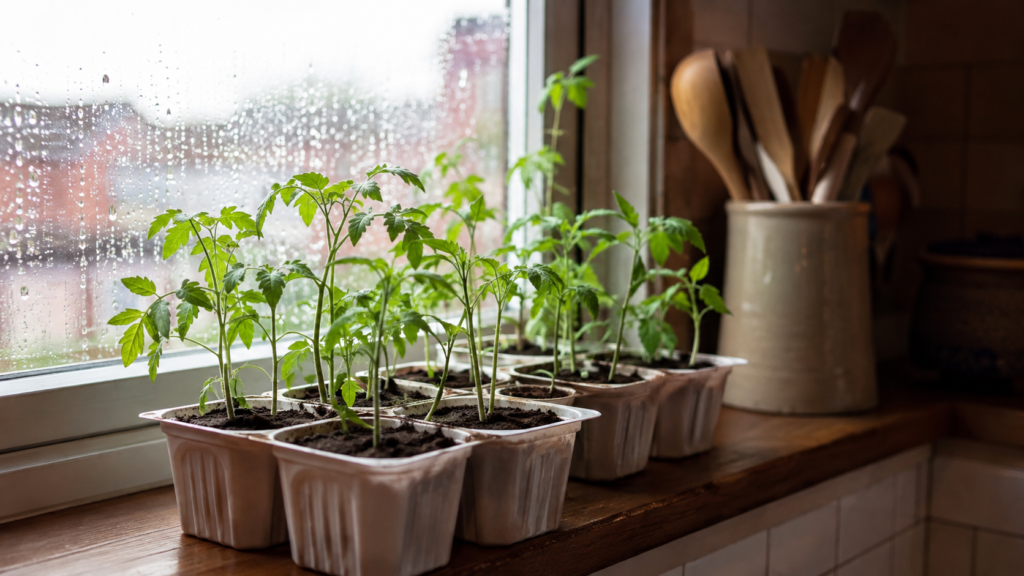
I’ve been starting seeds on a windowsill and a £25 shelf unit for the past few years, and the return on that setup has paid for itself many times over. This is the practical version of that process: what it actually costs, when to start, what goes wrong, and how to give yourself the longest possible growing season without spending on a heated greenhouse you don’t need.
Why Start Seeds Indoors at All?
The UK’s growing season is short and our spring is unreliable — a warm week in March can be followed by a hard frost in April. Starting seeds indoors gets around this in three ways:
- You control the temperature. Seeds like chillies and tomatoes need warmth to germinate that outdoor UK soil simply doesn’t offer until late spring.
- You get a head start. Plants that are already 6–8 weeks old when they go outside crop weeks earlier than direct-sown seed.
- You waste far less seed. Indoors, you can control moisture and warmth precisely, so germination rates are much higher than scattering seed into cold, wet ground.
This is also the cheapest possible entry point into growing your own — cheaper than buying young plants, and cheaper than any other method of extending your season. If you’re working through the wider growing food on a budget approach, this is usually the single highest-return habit to build first.
Free download
Get the Non‑Toxic Home Audit Checklist
A room‑by‑room checklist to help you spot what’s worth swapping in your home — and what’s not worth worrying about. Join the fortnightly newsletter and it’s yours.
No spam, unsubscribe any time.
What You Actually Need (Budget Version)
You don’t need a heated propagator or a grow-light rig to get started. My first two years of seed starting used:
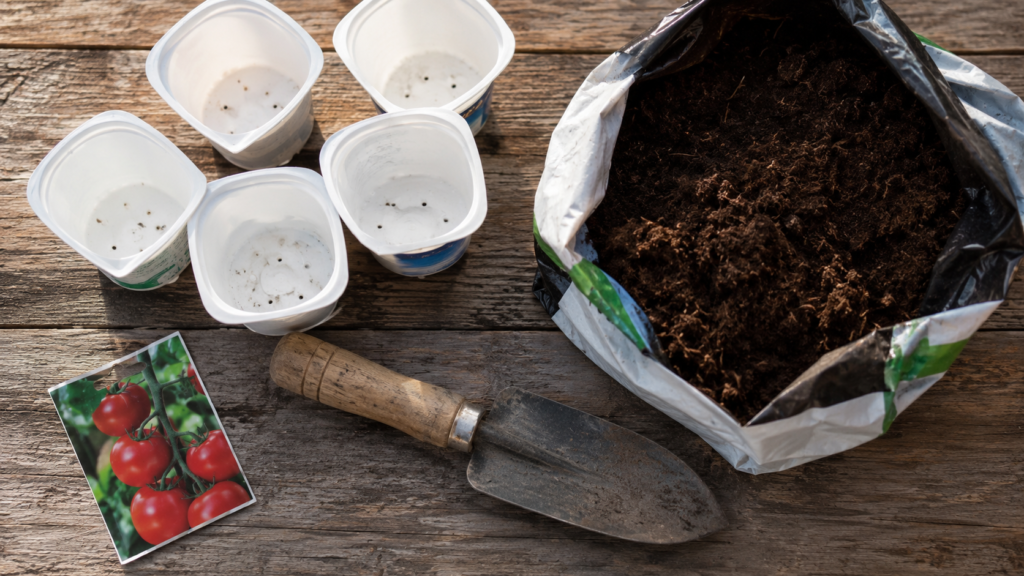
- Washed-out yoghurt pots or the bottom half of milk cartons, with drainage holes poked in the base
- A cheap multi-purpose or seed compost (peat-free)
- A sunny windowsill — south or east-facing is ideal
- A clear plastic bag or an old ice cream tub lid as a mini propagator lid, to hold in humidity until germination
If you want to go slightly further, a £15–25 unheated seed tray with a plastic lid from a garden centre will germinate more evenly than windowsill pots, because the humidity is more consistent. A heated propagator mat is a nice-to-have for chillies and aubergines specifically, but it’s not essential for most vegetables.
When to Start: A UK Timing Guide
Timing is the part people get wrong most often — starting too early just means leggy, stressed plants sitting in pots for weeks longer than they should.
February–March (indoors, needs warmth): Chillies, aubergines, celery, onions from seed
March–April (indoors): Tomatoes, cucumbers, courgettes (courgettes can also wait until direct sowing in May)
April–May (indoors or under cover): Squash, pumpkins, sweetcorn, French and runner beans
As a rule of thumb: check the average last frost date for your region (most of the UK sits somewhere between mid-April and mid-May) and count backwards using the seed packet’s stated “weeks to transplant.” Sowing too early is a far more common mistake than sowing too late.
Step by Step: Sowing and Care
- Fill your container with damp (not soaked) compost, firmed gently — don’t compact it hard.
- Sow at the depth stated on the packet. As a general guide, this is roughly twice the seed’s own diameter. Very fine seed (like lettuce) often just needs pressing onto the surface, not covering.
- Water from below where possible — stand pots in a tray of water for ten minutes rather than pouring from above, which can dislodge small seeds.
- Cover to hold humidity until you see germination, then remove the cover immediately to prevent damping off (a fungal issue that’s the single biggest killer of indoor seedlings).
- Once germinated, seedlings need the brightest spot you have. A windowsill that seemed sunny in February often isn’t bright enough by comparison to actual daylight hours — turn pots regularly so they don’t grow lopsided reaching for the light.
- Thin overcrowded seedlings to the strongest one or two per cell once true leaves appear (the second set of leaves, not the first rounded pair).
Hardening Off: The Step Nobody Warns You About
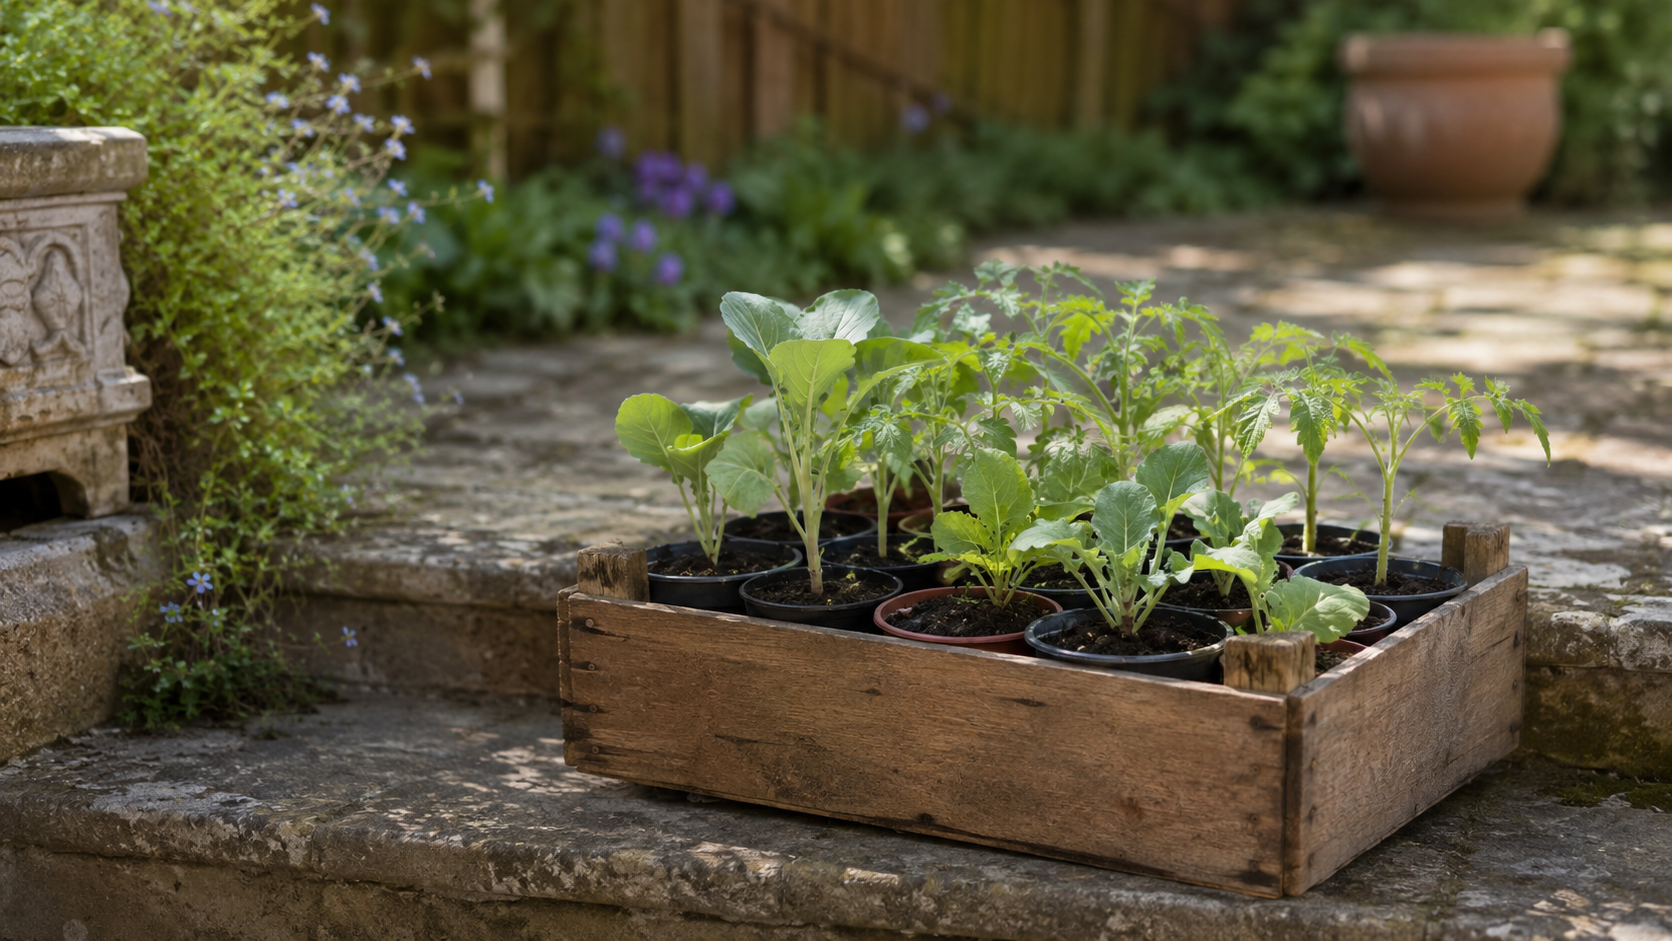
This is where most of my early seedling losses happened, and it’s rarely mentioned on seed packets in enough detail. Seedlings raised indoors are soft — thin cell walls, no wind exposure, no UV toughening. Moving them straight outside can kill or badly check them in a single cold night.
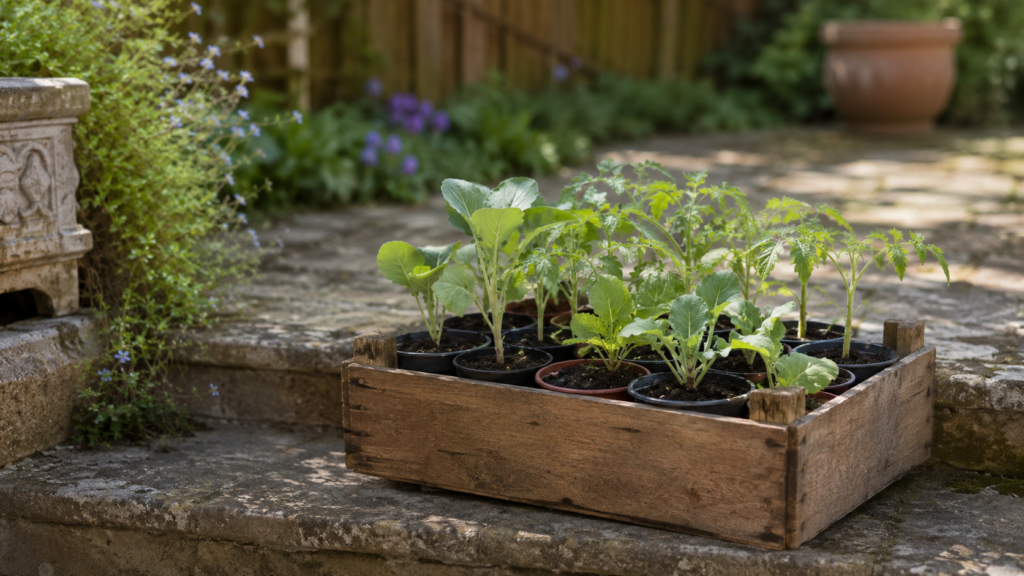
Hardening off means gradually introducing plants to outdoor conditions over 7–10 days: a few hours outside in a sheltered spot on day one, building up to full days, then full days and nights, before planting out properly. It’s slow, but skipping it is the single most common reason home-raised seedlings fail once they leave the windowsill.
The Actual Cost Comparison
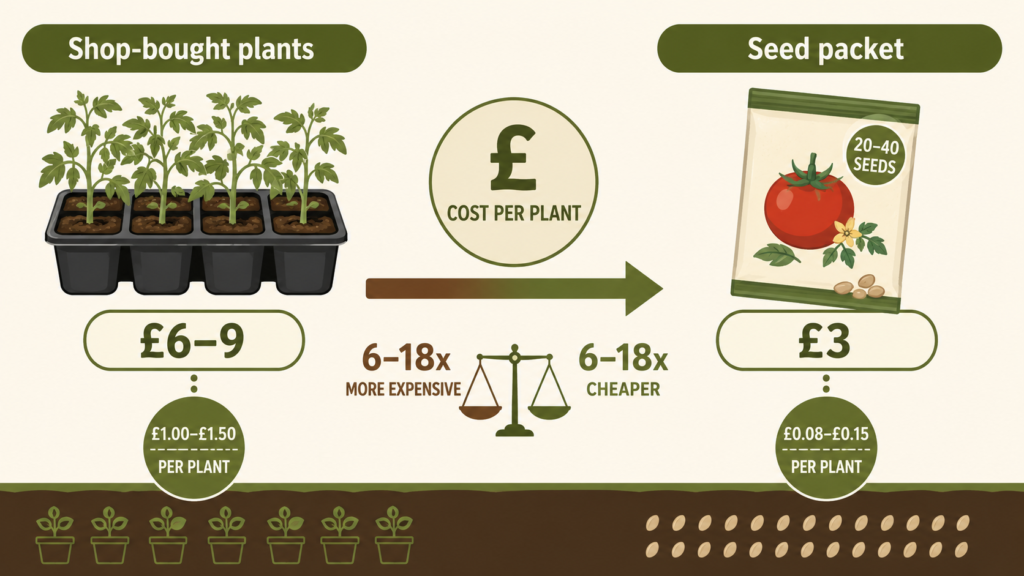
Here’s the maths that makes this worth doing. A tray of six shop-bought tomato plants in April typically runs £6–9. A packet of the same variety costs roughly the same and contains 20–40 seeds, most of which will germinate with basic indoor care. Across a full growing season of tomatoes, chillies, courgettes and beans, seed-starting rather than buying plants routinely saves upwards of £40–60 for a modest-sized UK garden — before you even factor in that many packets last two or three seasons if stored properly.
If you want to push the savings further, this pairs well with saving your own seed at the end of the season, which turns this year’s crop into next year’s free seed packet.
Common Mistakes to Avoid
- Starting too early and ending up with leggy, pot-bound plants weeks before it’s safe to plant out
- Overwatering, which is the main cause of damping off in seed trays
- Not enough light after germination, which causes weak, stretched growth
- Skipping hardening off entirely
- Using garden soil instead of seed or multi-purpose compost, which is often too heavy and can carry pests or disease
Where This Fits Into a Bigger Plan
Seed starting is one habit, but it works best alongside a few others. If you’re short on outdoor space, this pairs naturally with container growing for renters [URL NEEDED — link to: "Container Veg Growing for Renters and Flat Dwellers"]. And once you’ve got seedlings ready to plant into a full bed, companion planting [URL NEEDED — link to: "Companion Planting: Grow More by Spending Less"] is worth reading before you decide what goes where.
A Realistic Starting Point
You don’t need a greenhouse, a heated propagator, or a dedicated grow room to get a full season’s worth of vegetables from a £3 seed packet and a sunny windowsill. Start small — a tray of tomatoes and a tray of chillies is plenty for a first attempt — and build from there once you’ve got a season’s worth of confidence behind you.